1
Create your account
Create your login: the email and password you will use to sign in from now on.

Step 1: Create your account
Email Address *
The email you log in with and where all case and payment notifications go. Use the professional address you want parties to see.
Password *
Choose a secure password (8+ characters). You use it every time you sign in.
Confirm Password *
Re-type the same password to confirm.
2
Basic information
Tell us who you are. This is how you appear to parties on cases, emails, and invoices.
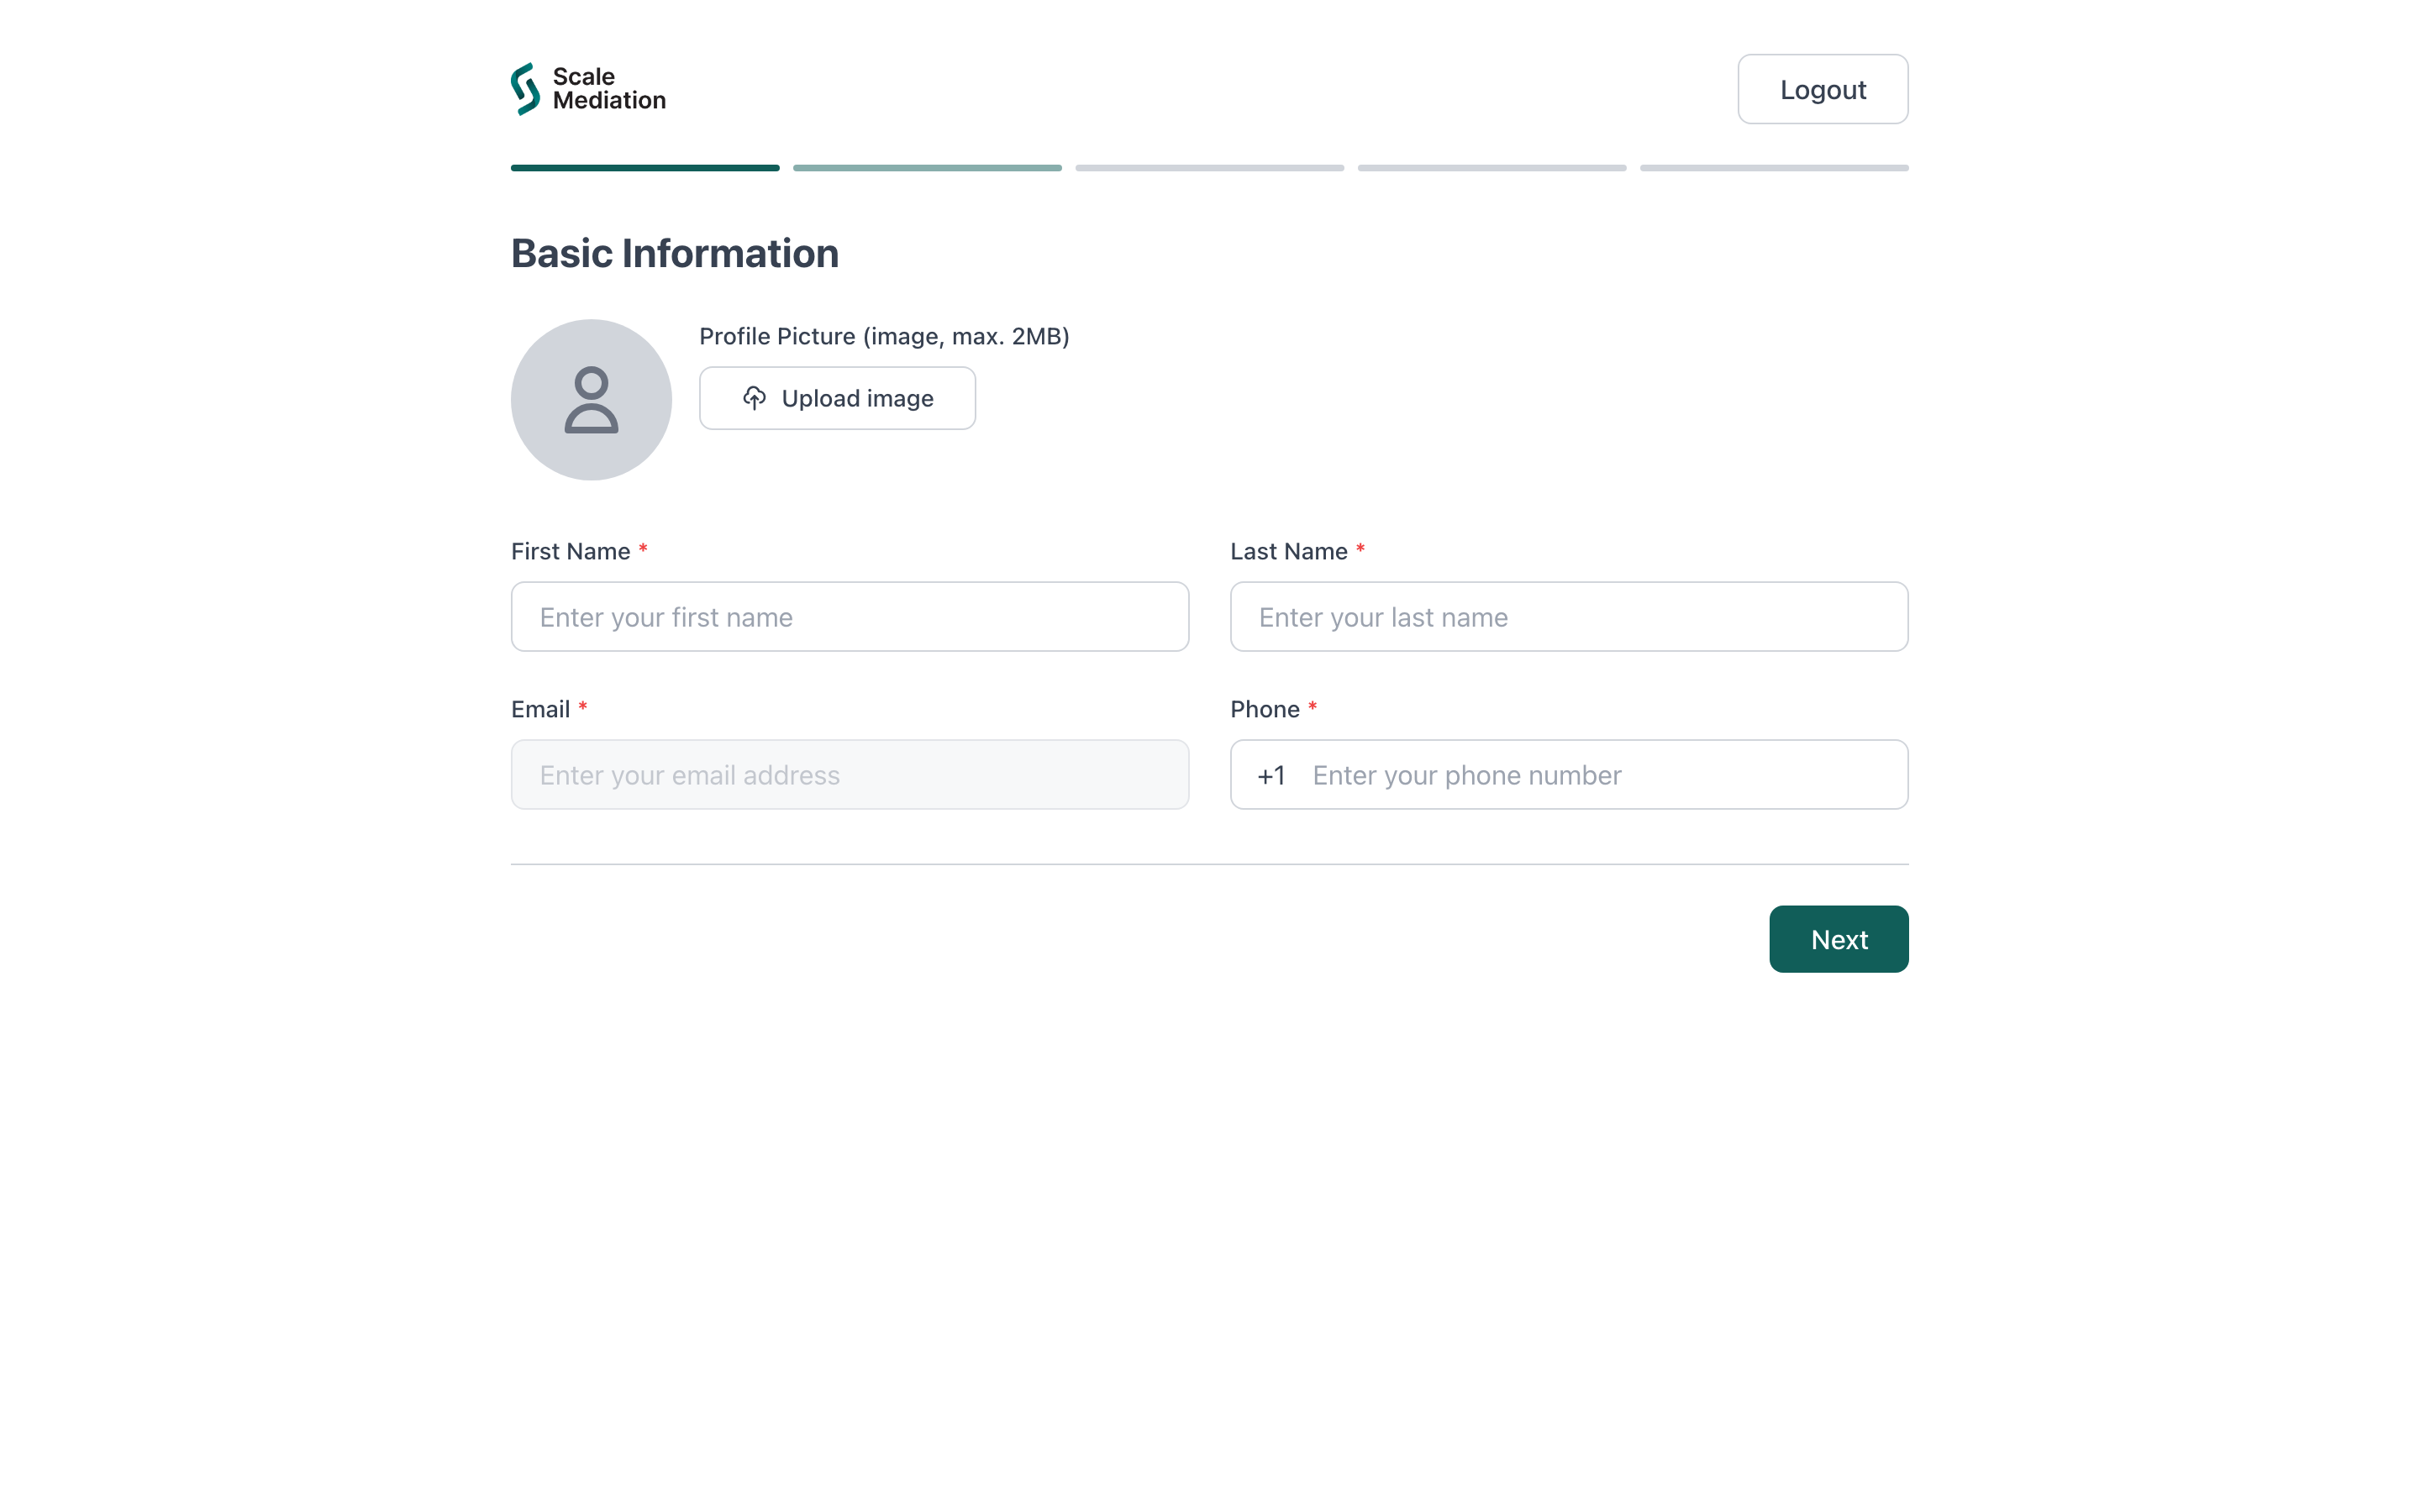
Step 2: Basic Information
Profile Picture
A professional headshot (image, max 2 MB) shown on your mediator profile.
First / Last Name *
Your name as shown to parties on cases, reminder emails, and invoices.
Email *
Carried over from sign-up; the address all case and payment notifications go to.
Phone *
Your contact number (with country code), used for account and admin contact.
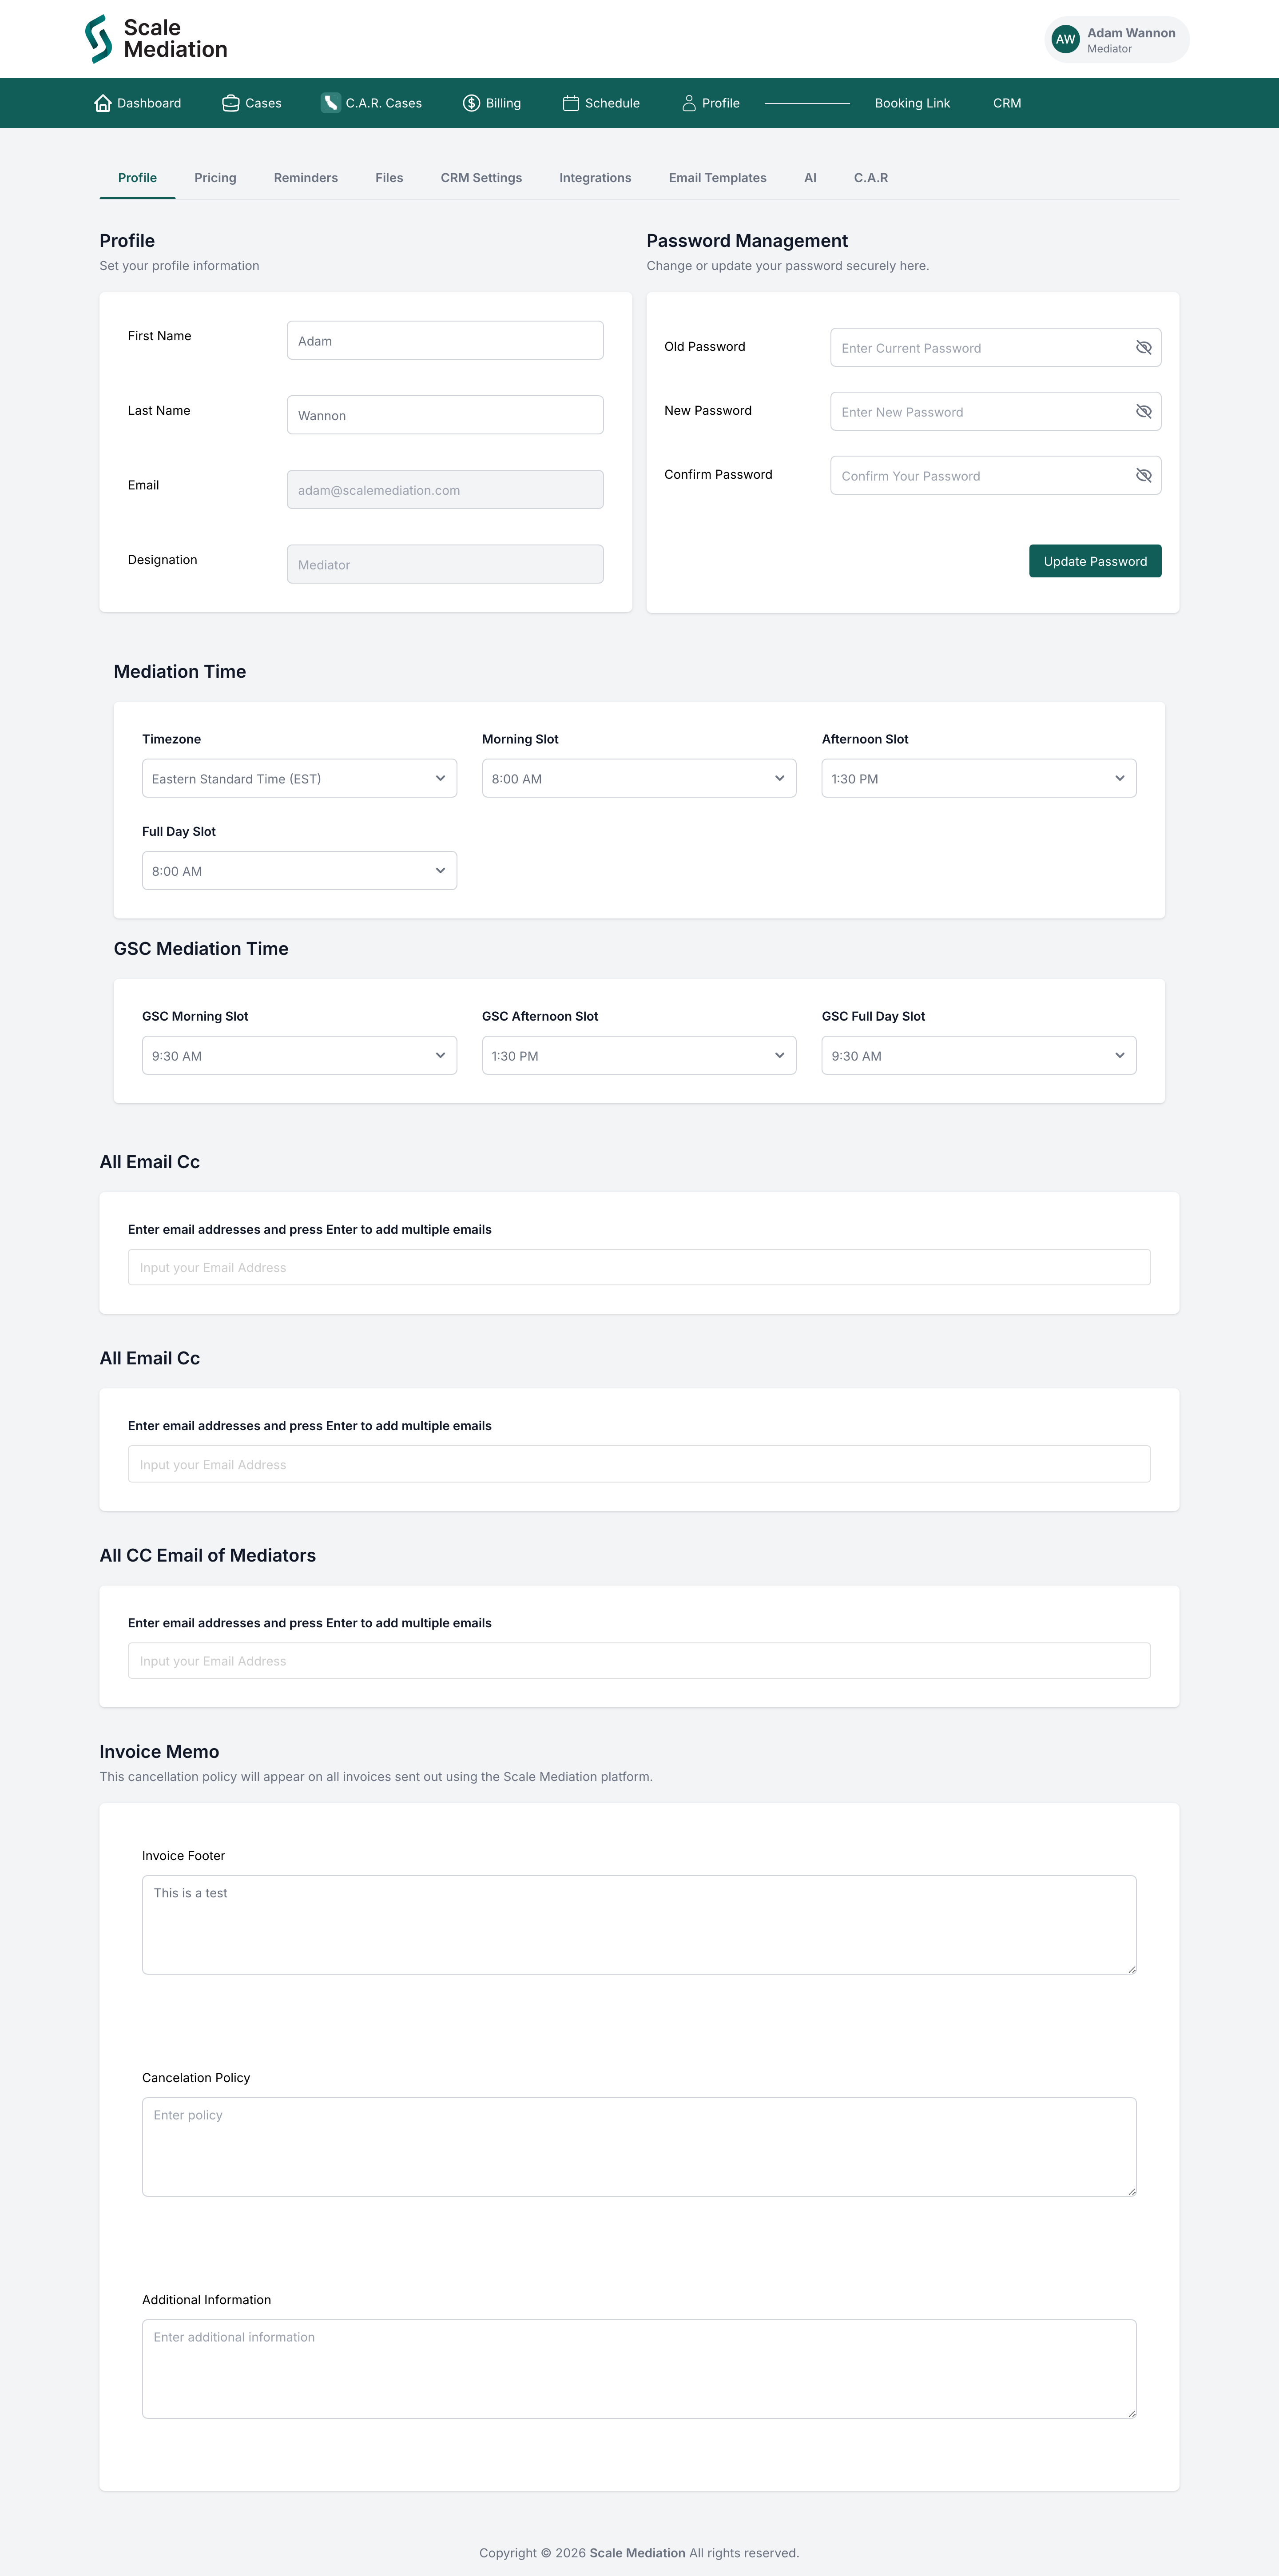
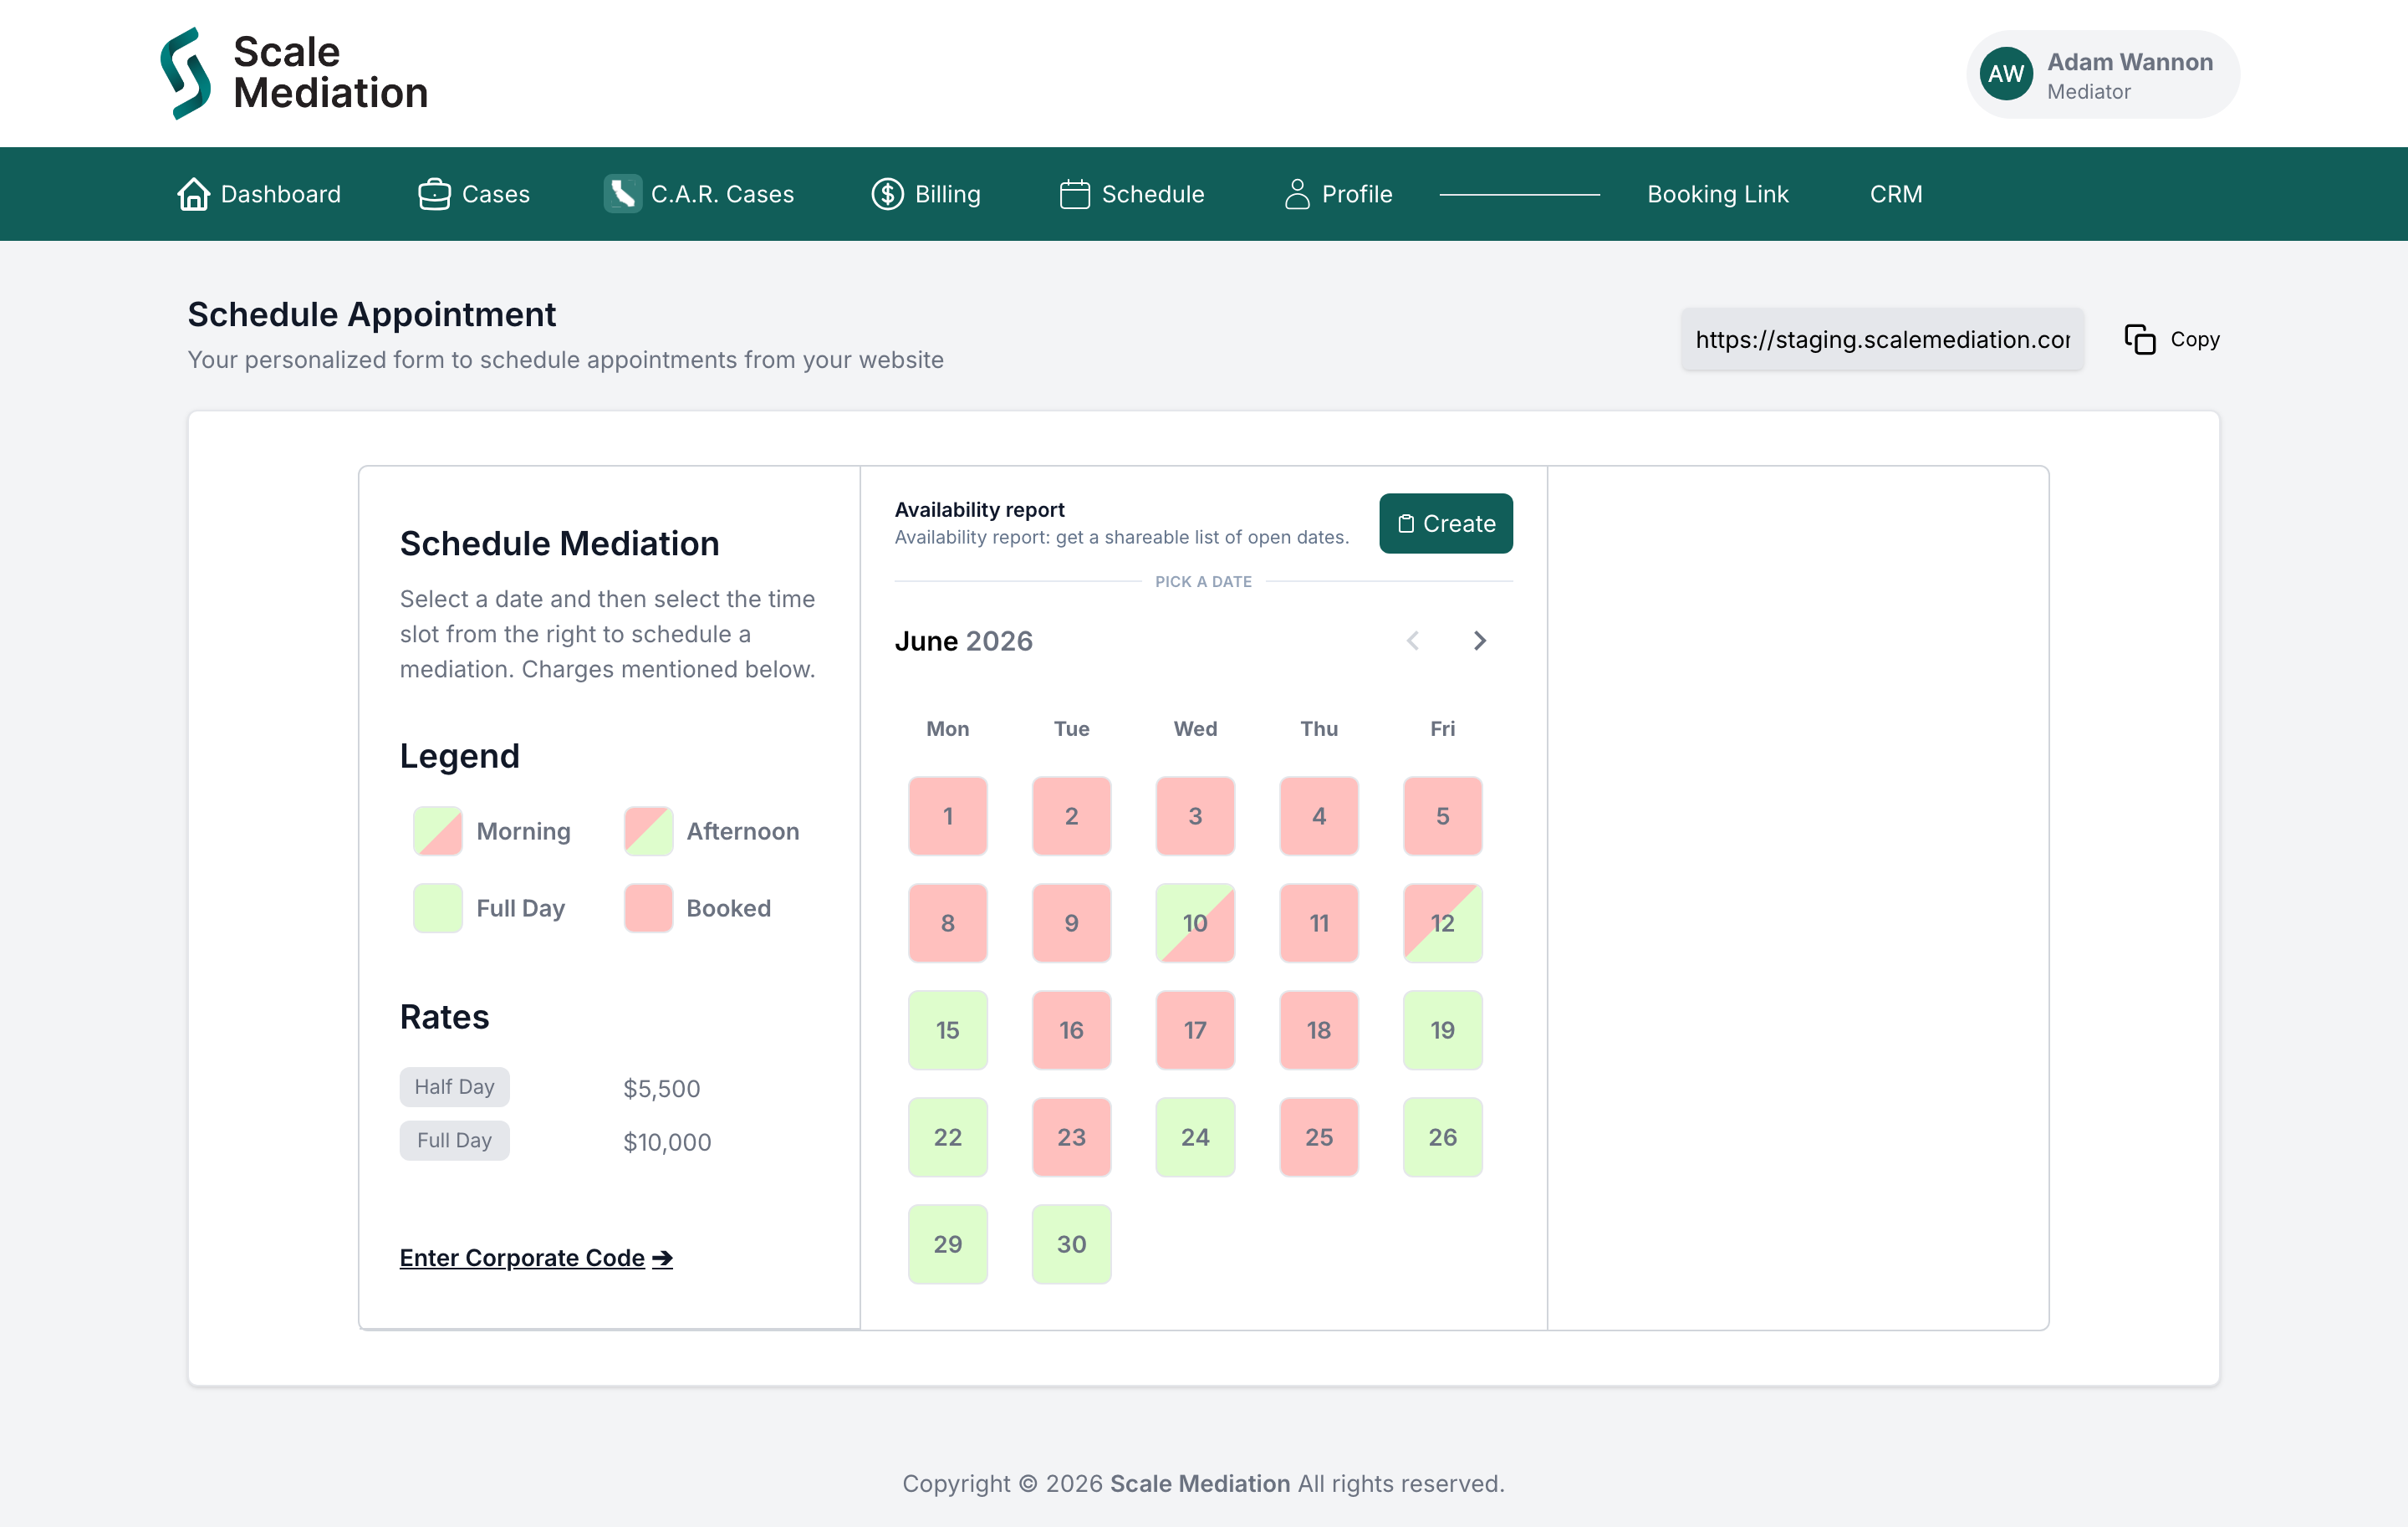
3
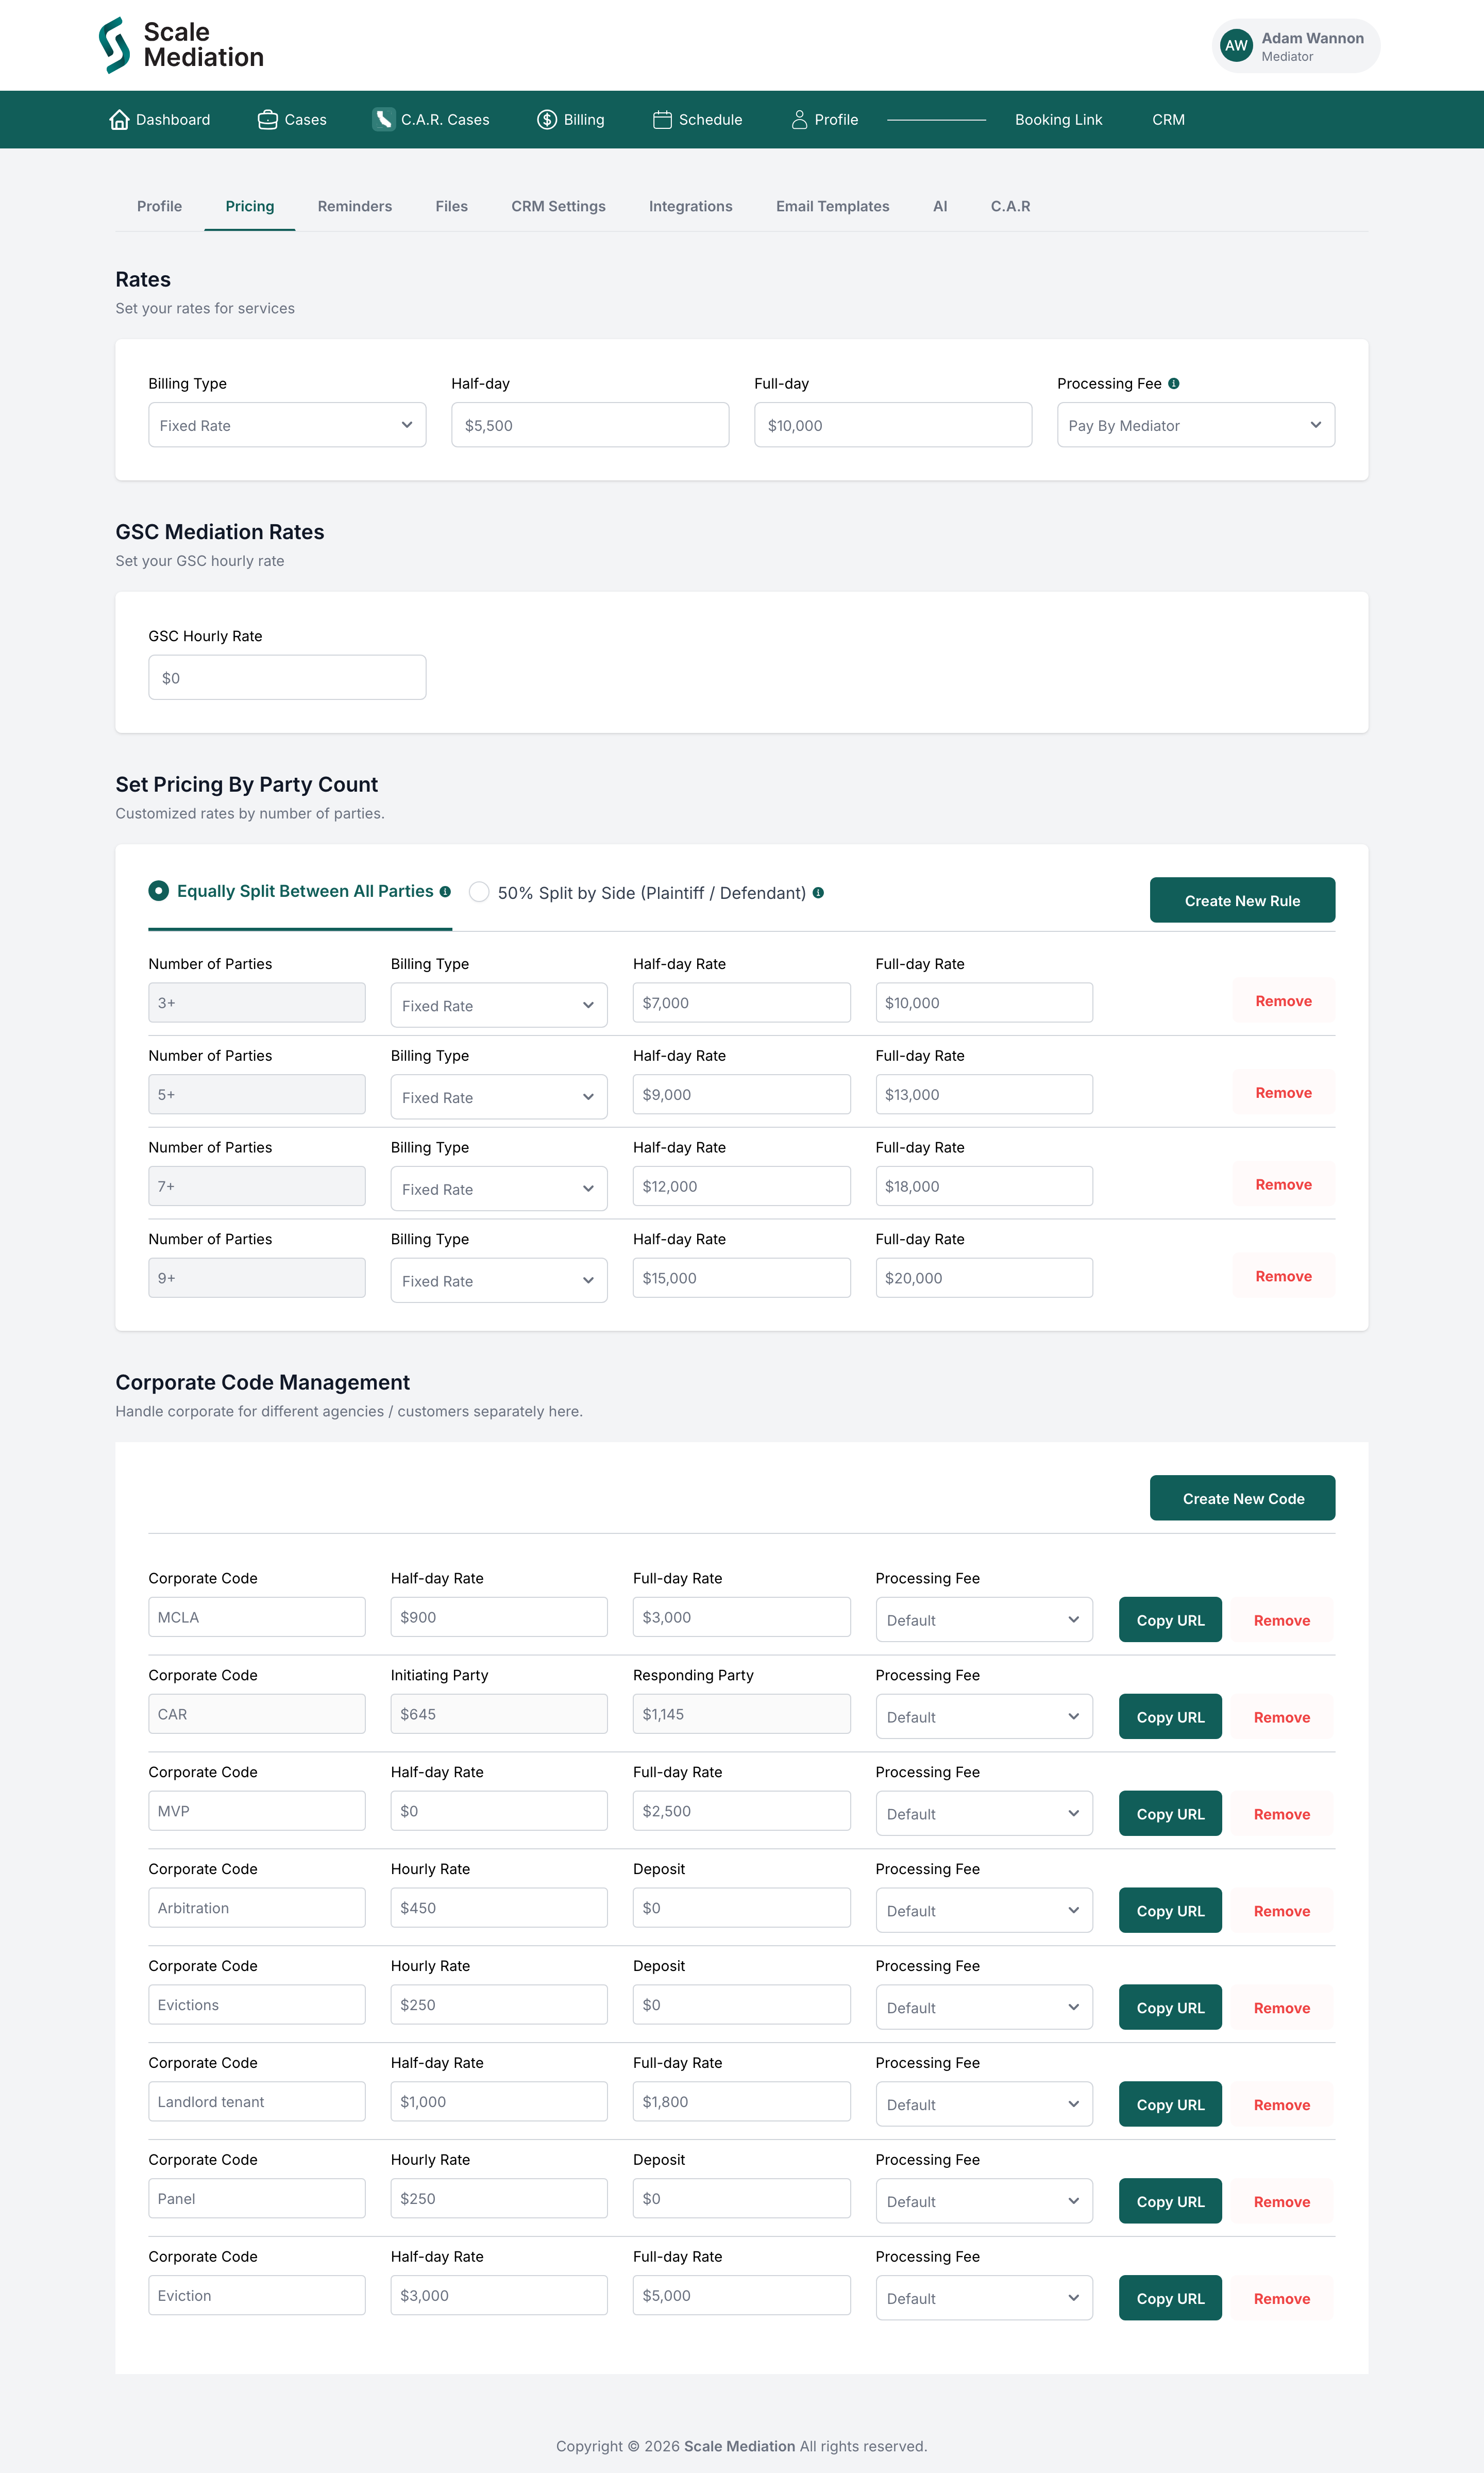
Your profile & rate
Your professional details and what you charge. See Setting your rates for the rate rules.
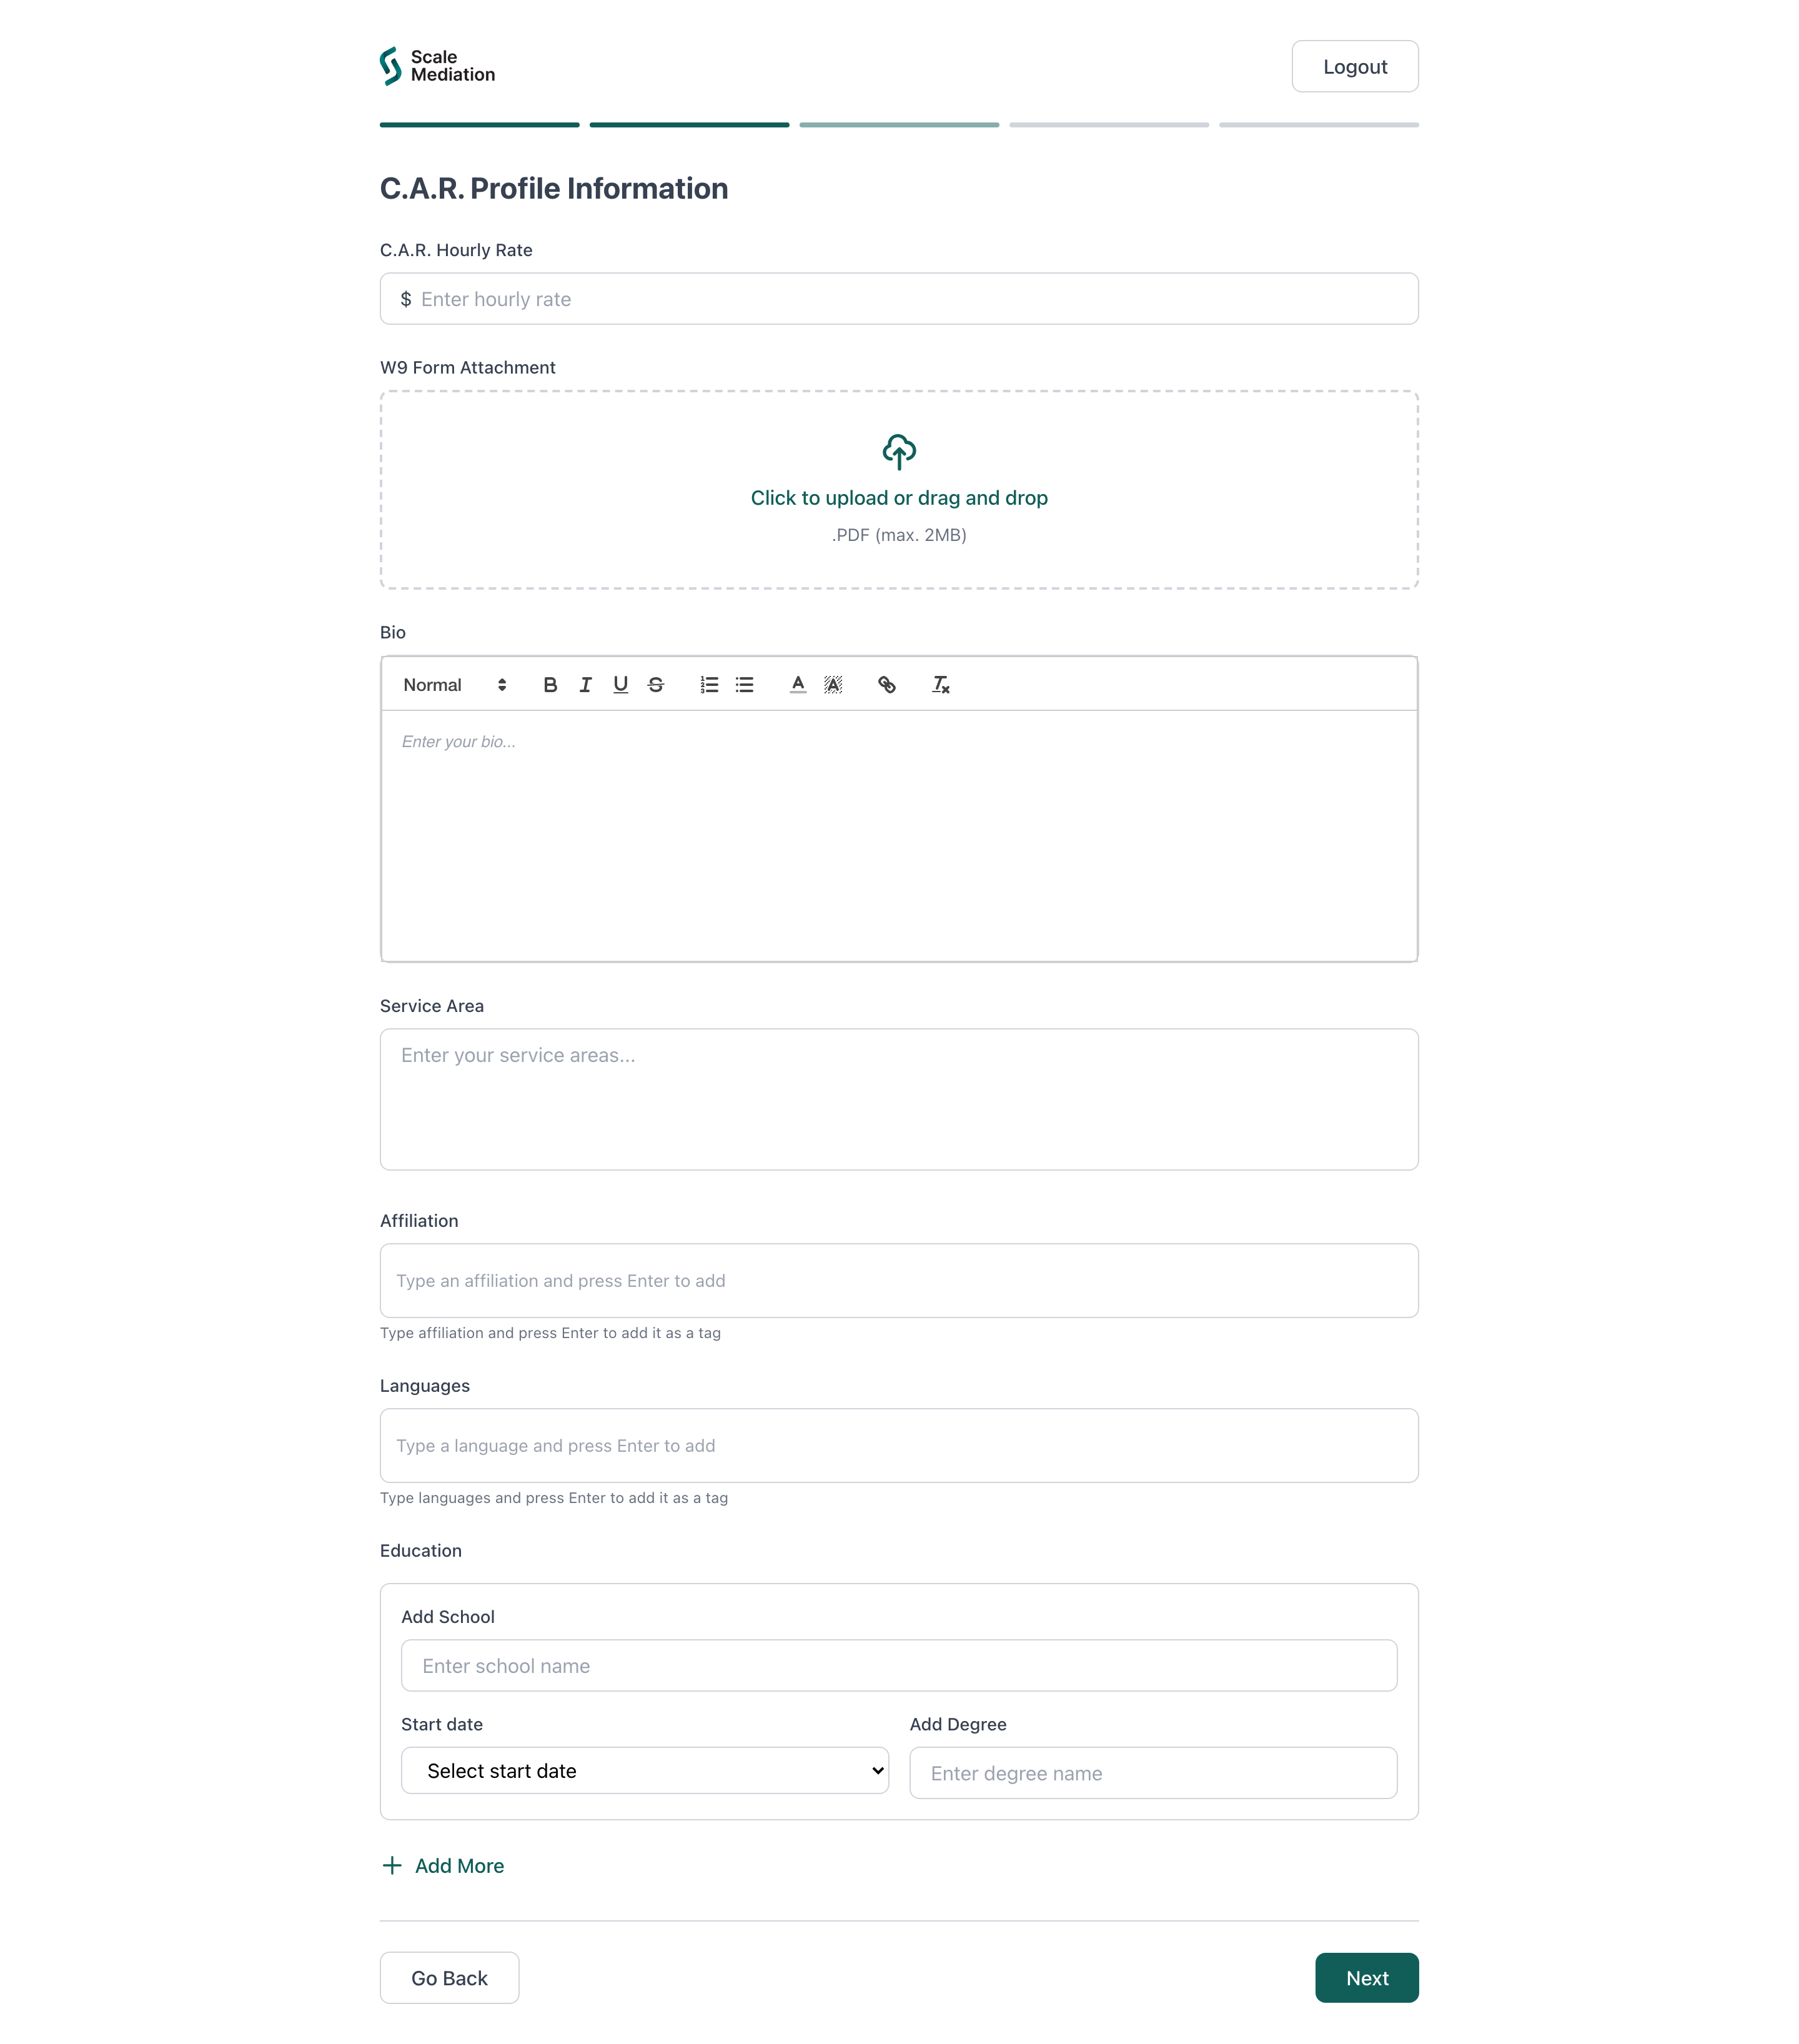
Step 3: C.A.R. Profile Information
C.A.R. Hourly Rate
Your hourly rate for C.A.R. matters, which drives what parties are billed on your cases.
W9 Form Attachment
Upload your signed W-9 (PDF, max 2 MB), required before you can be paid out.
Bio
A short professional bio (rich-text editor) shown on your profile.
Service Area
The regions and areas you cover.
Affiliation · Languages
Type each one and press Enter to add it as a tag: professional memberships and languages you speak.
Education
Add school, start date, and degree. Use "Add More" for multiple entries.
4
Background
Your credentials and experience: bar admissions, awards, and areas of practice. These strengthen your profile for the parties choosing a mediator.
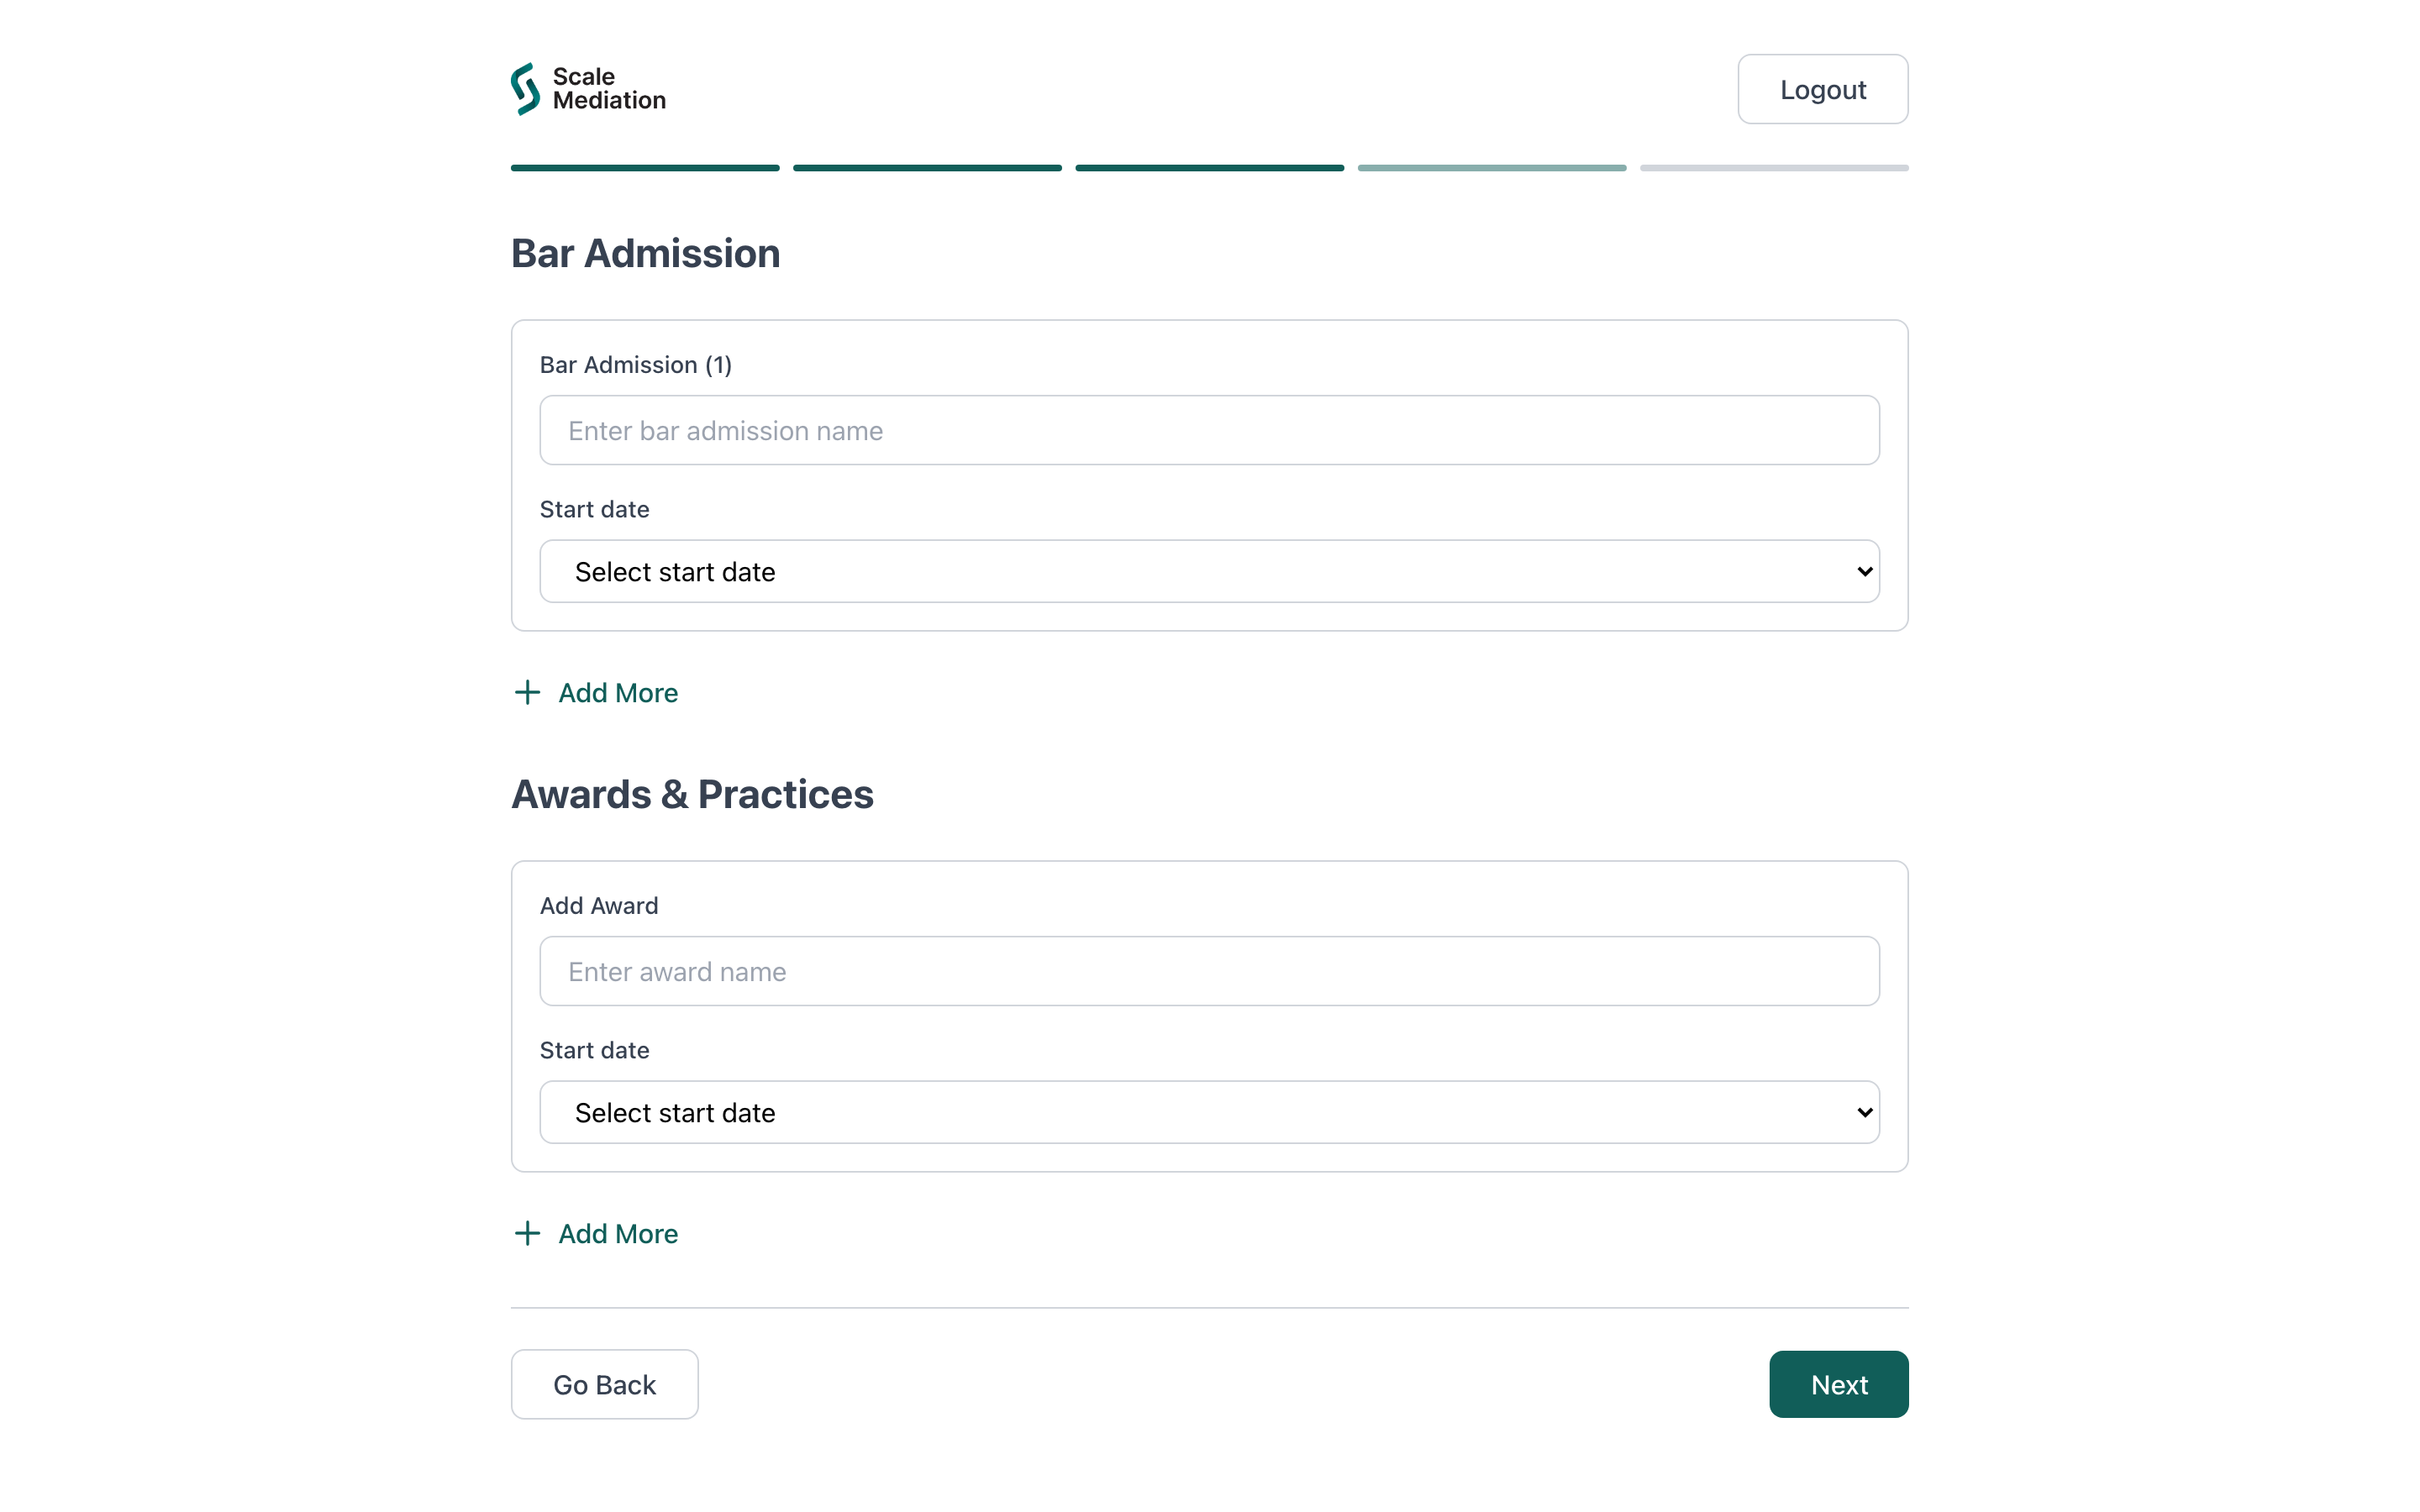
Step 4: Background
5
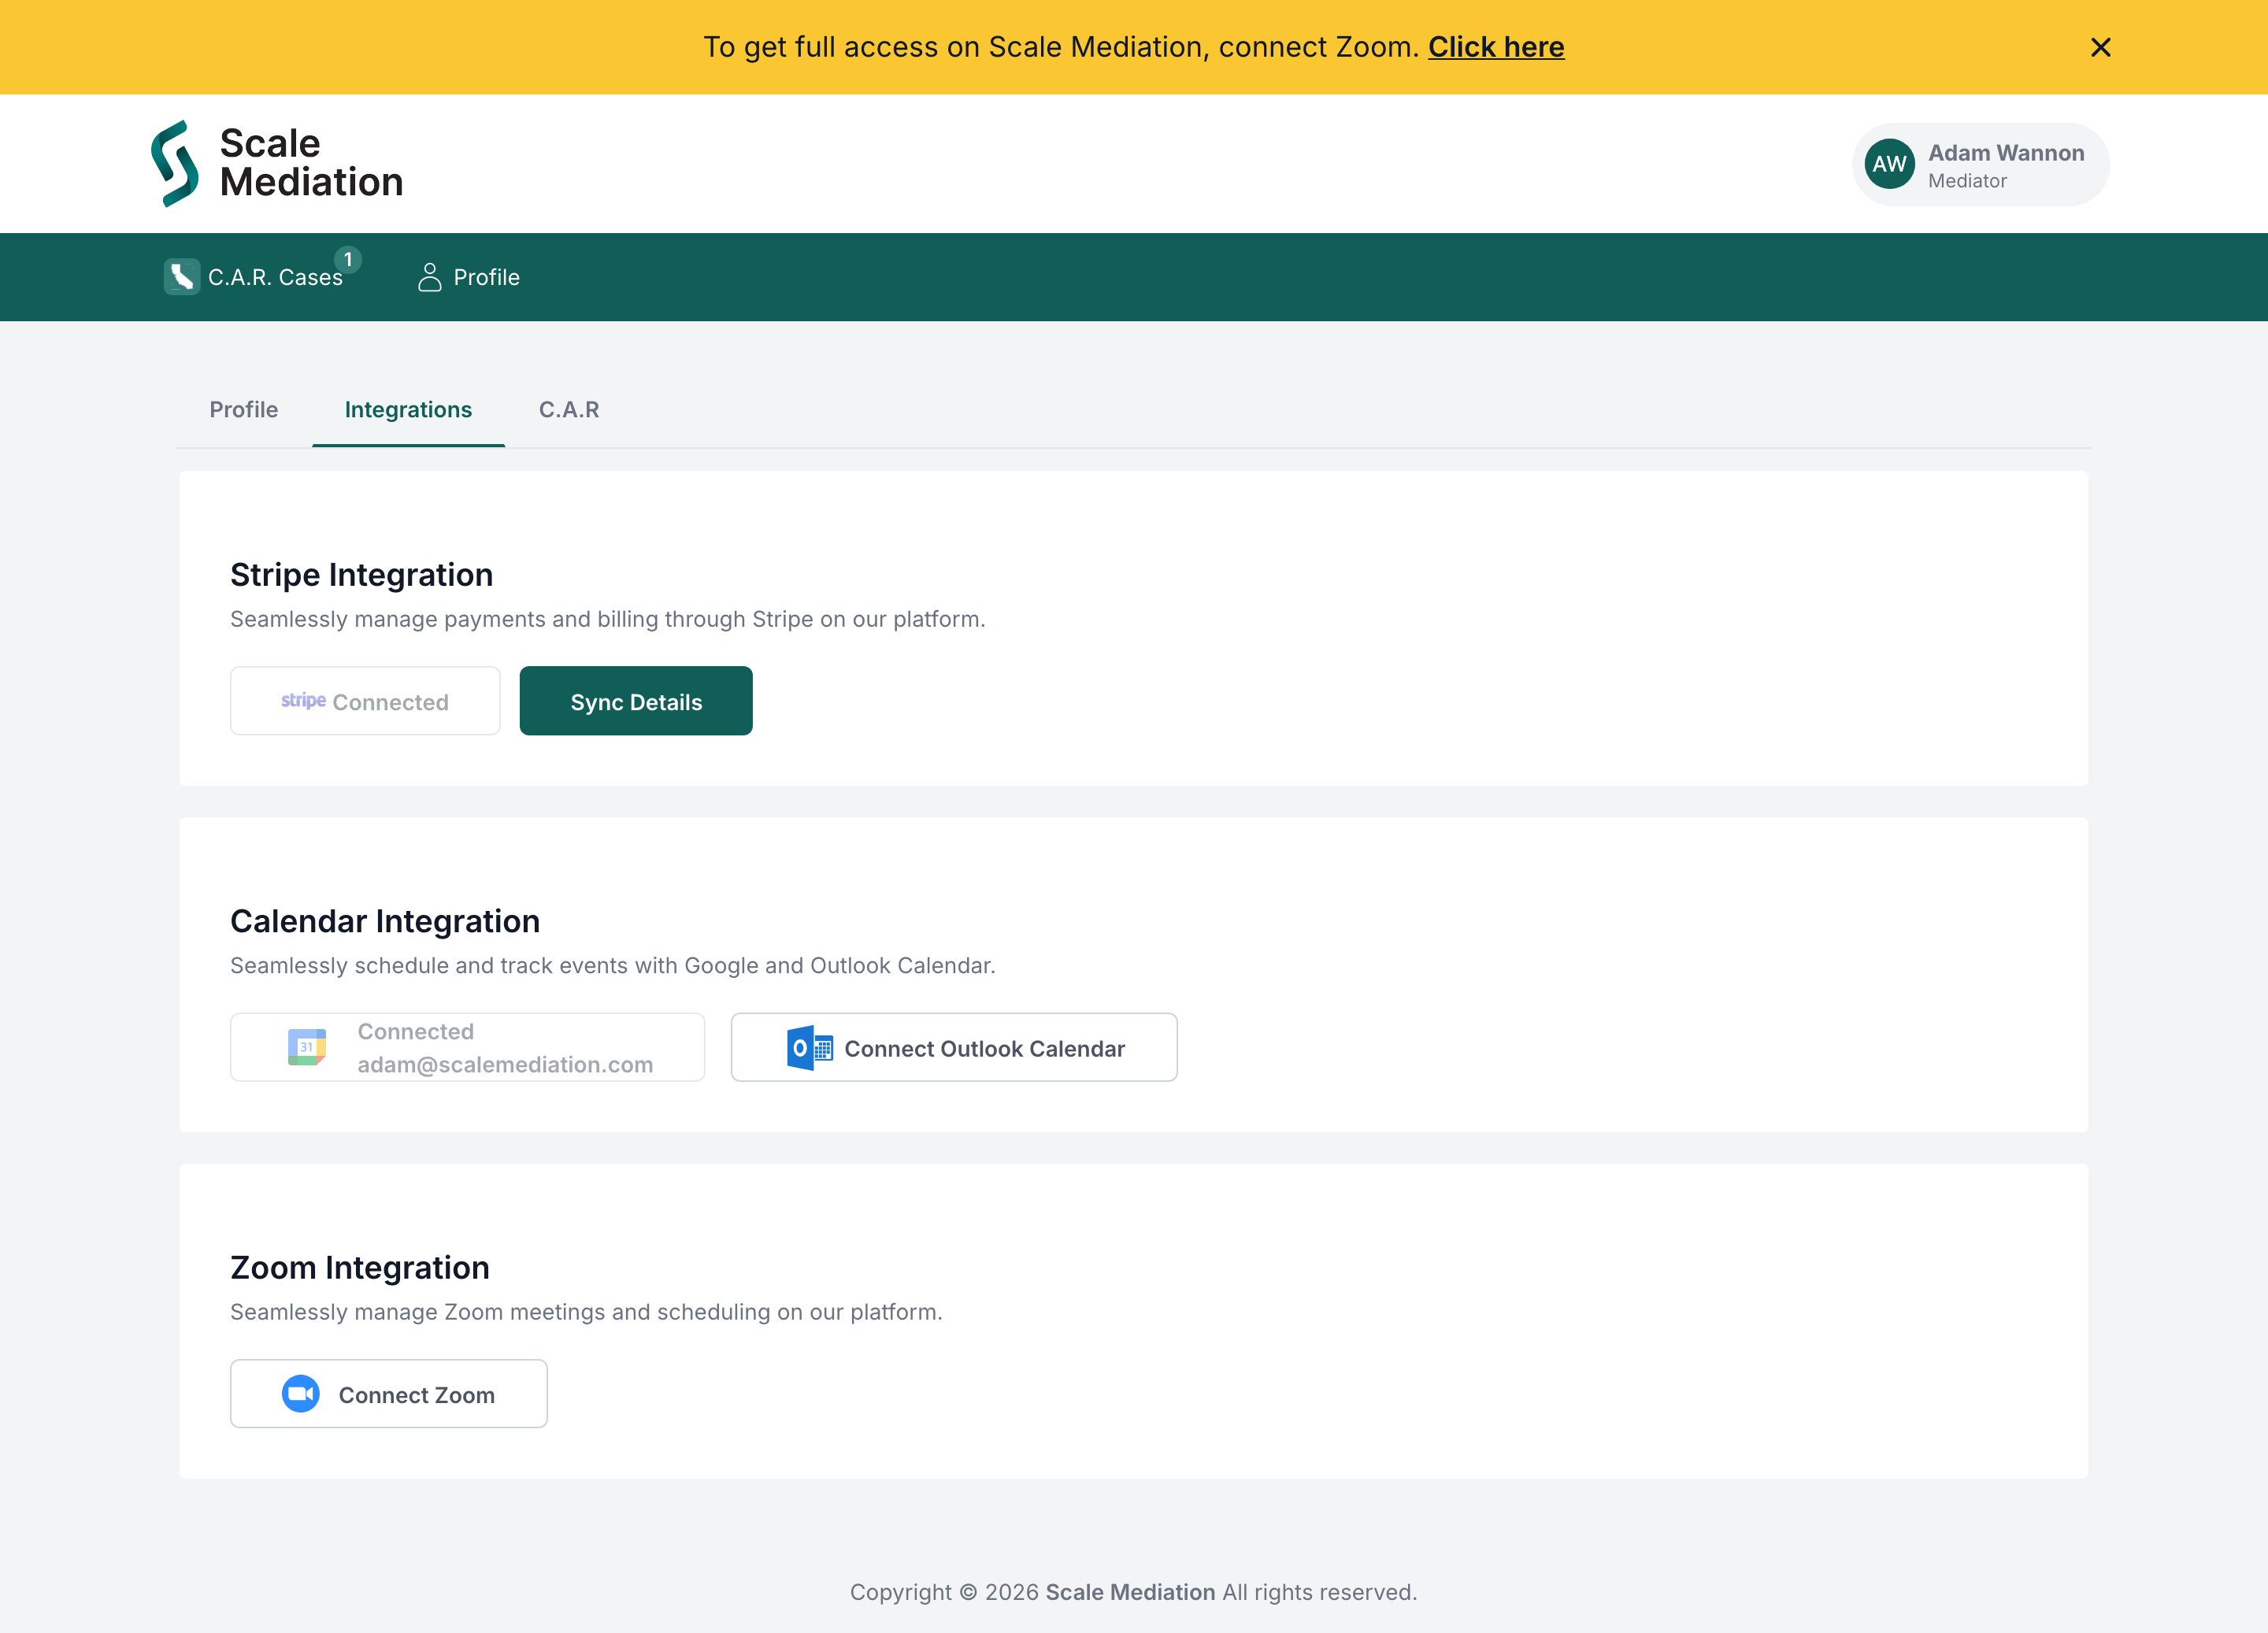
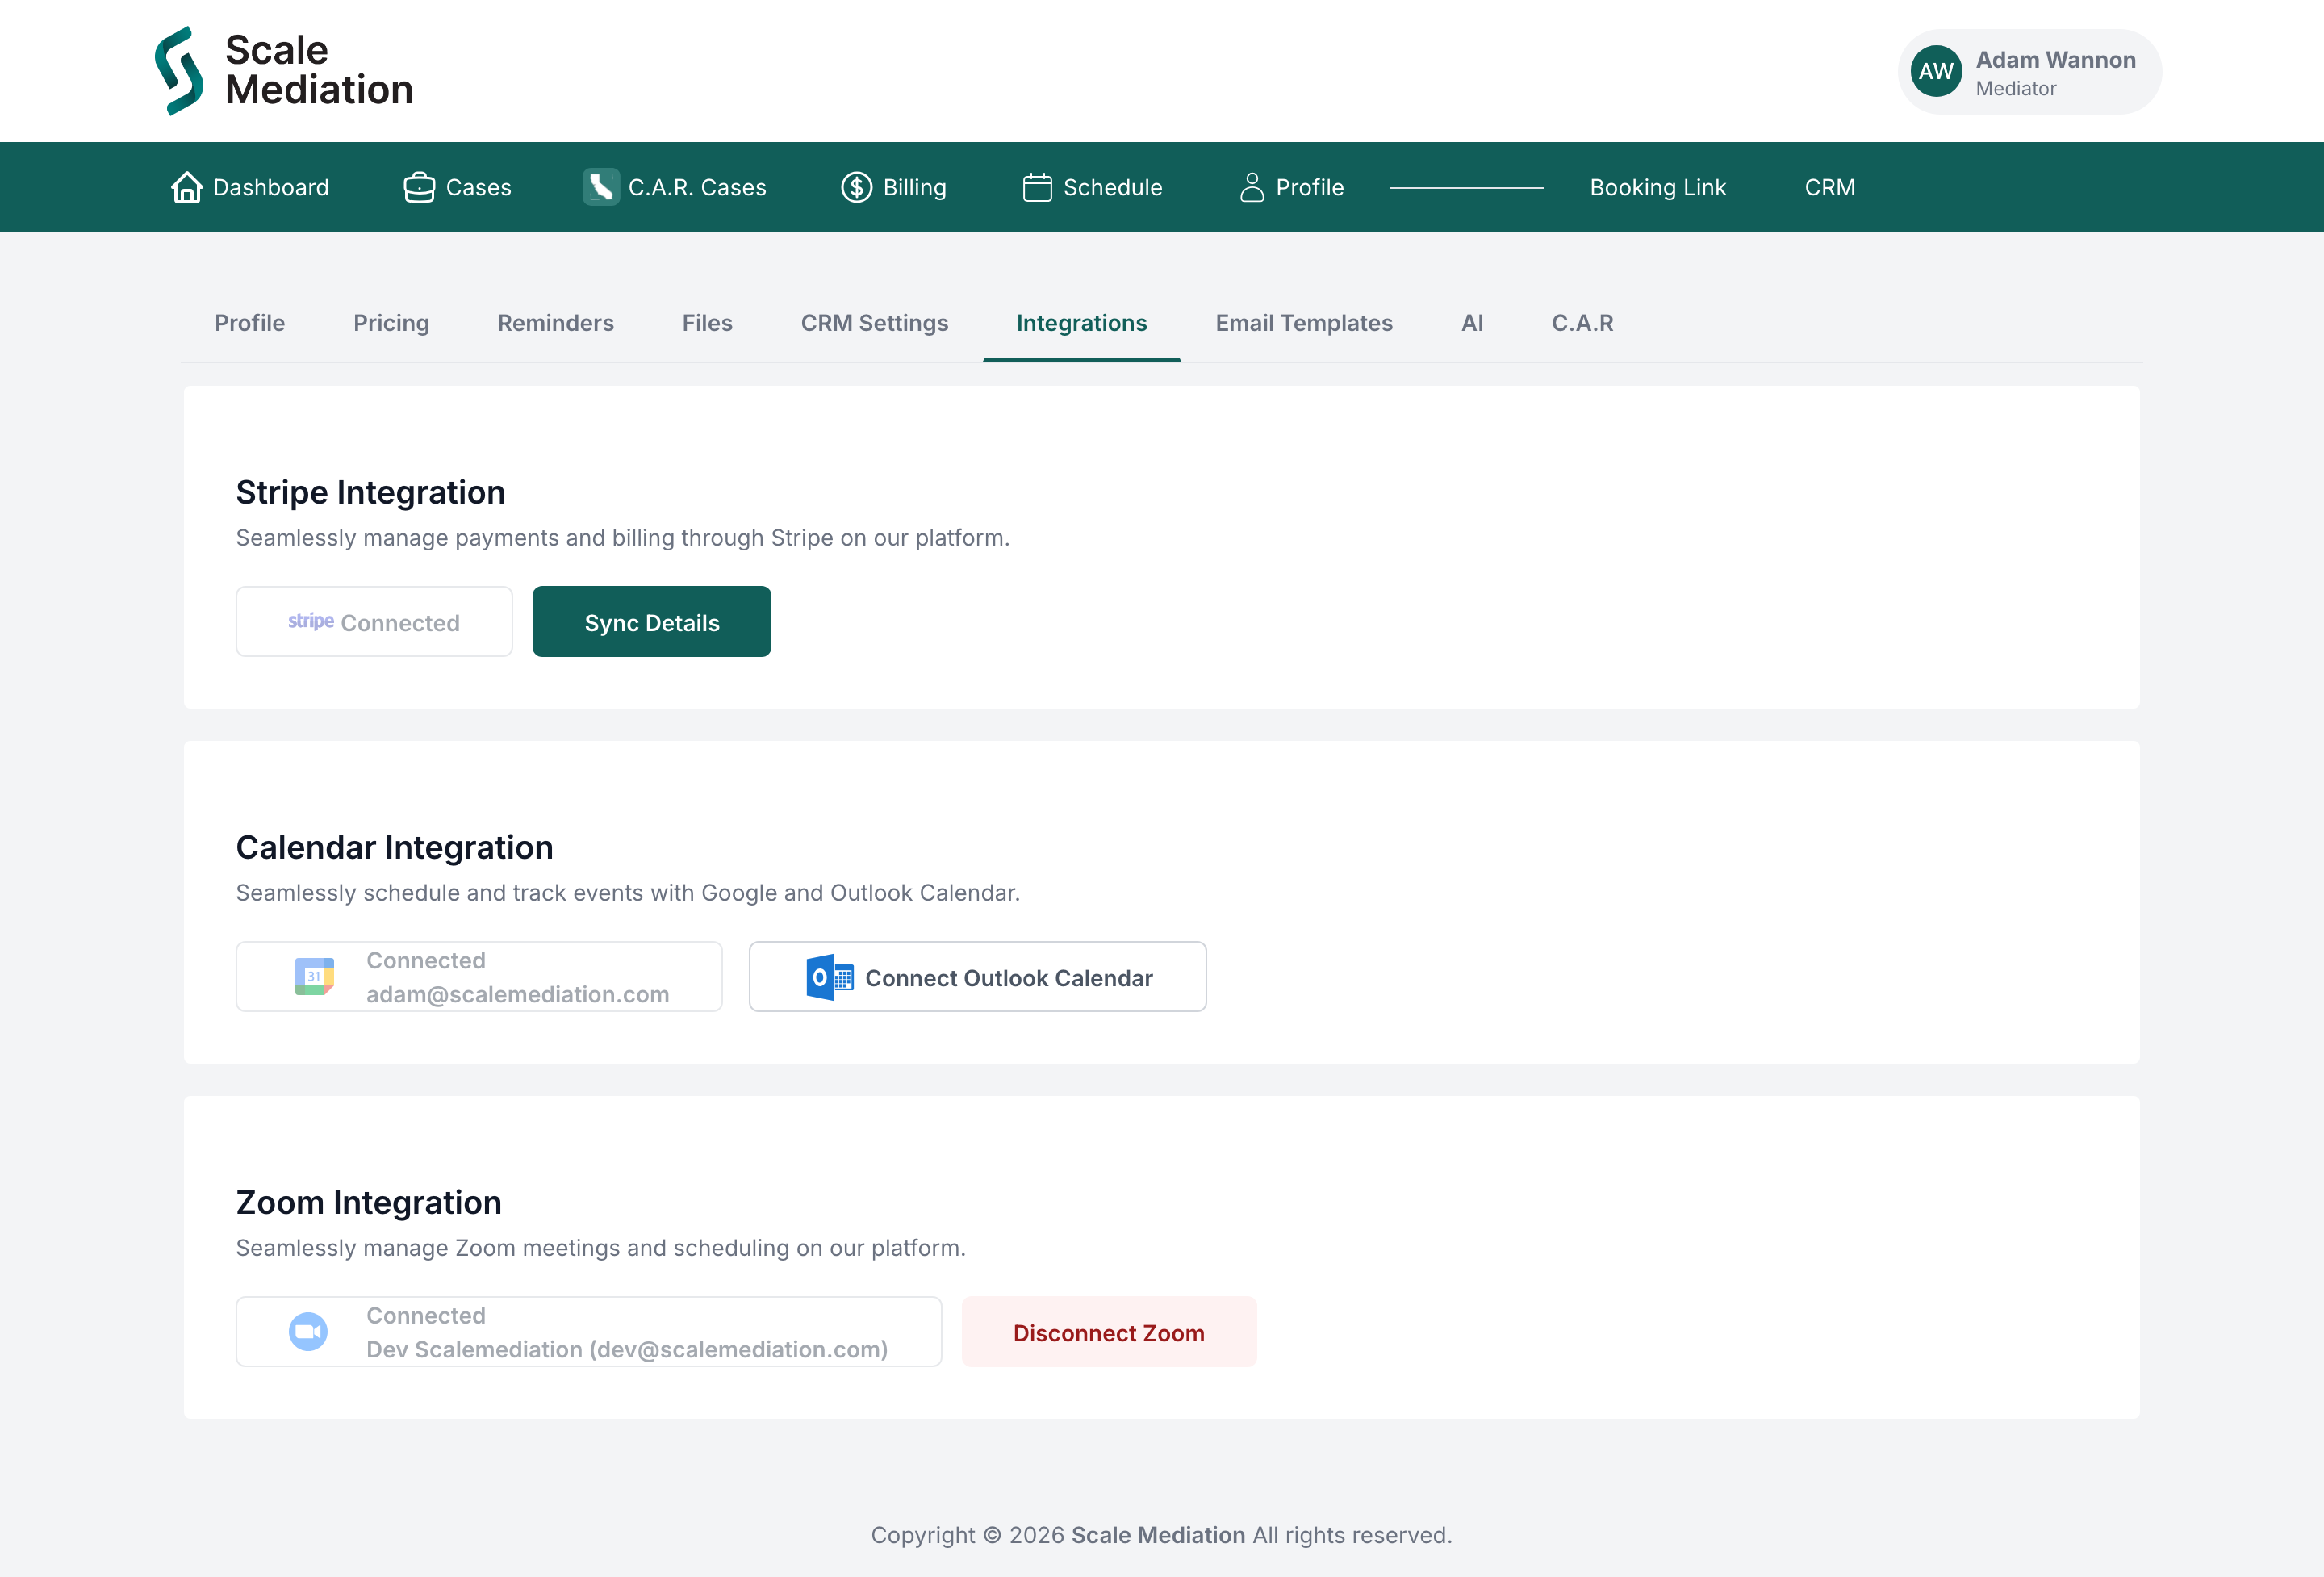
Connect Zoom & Stripe, then finish
The final screen connects the two integrations that make your account fully operational. See Connecting Zoom & Stripe for why they matter.
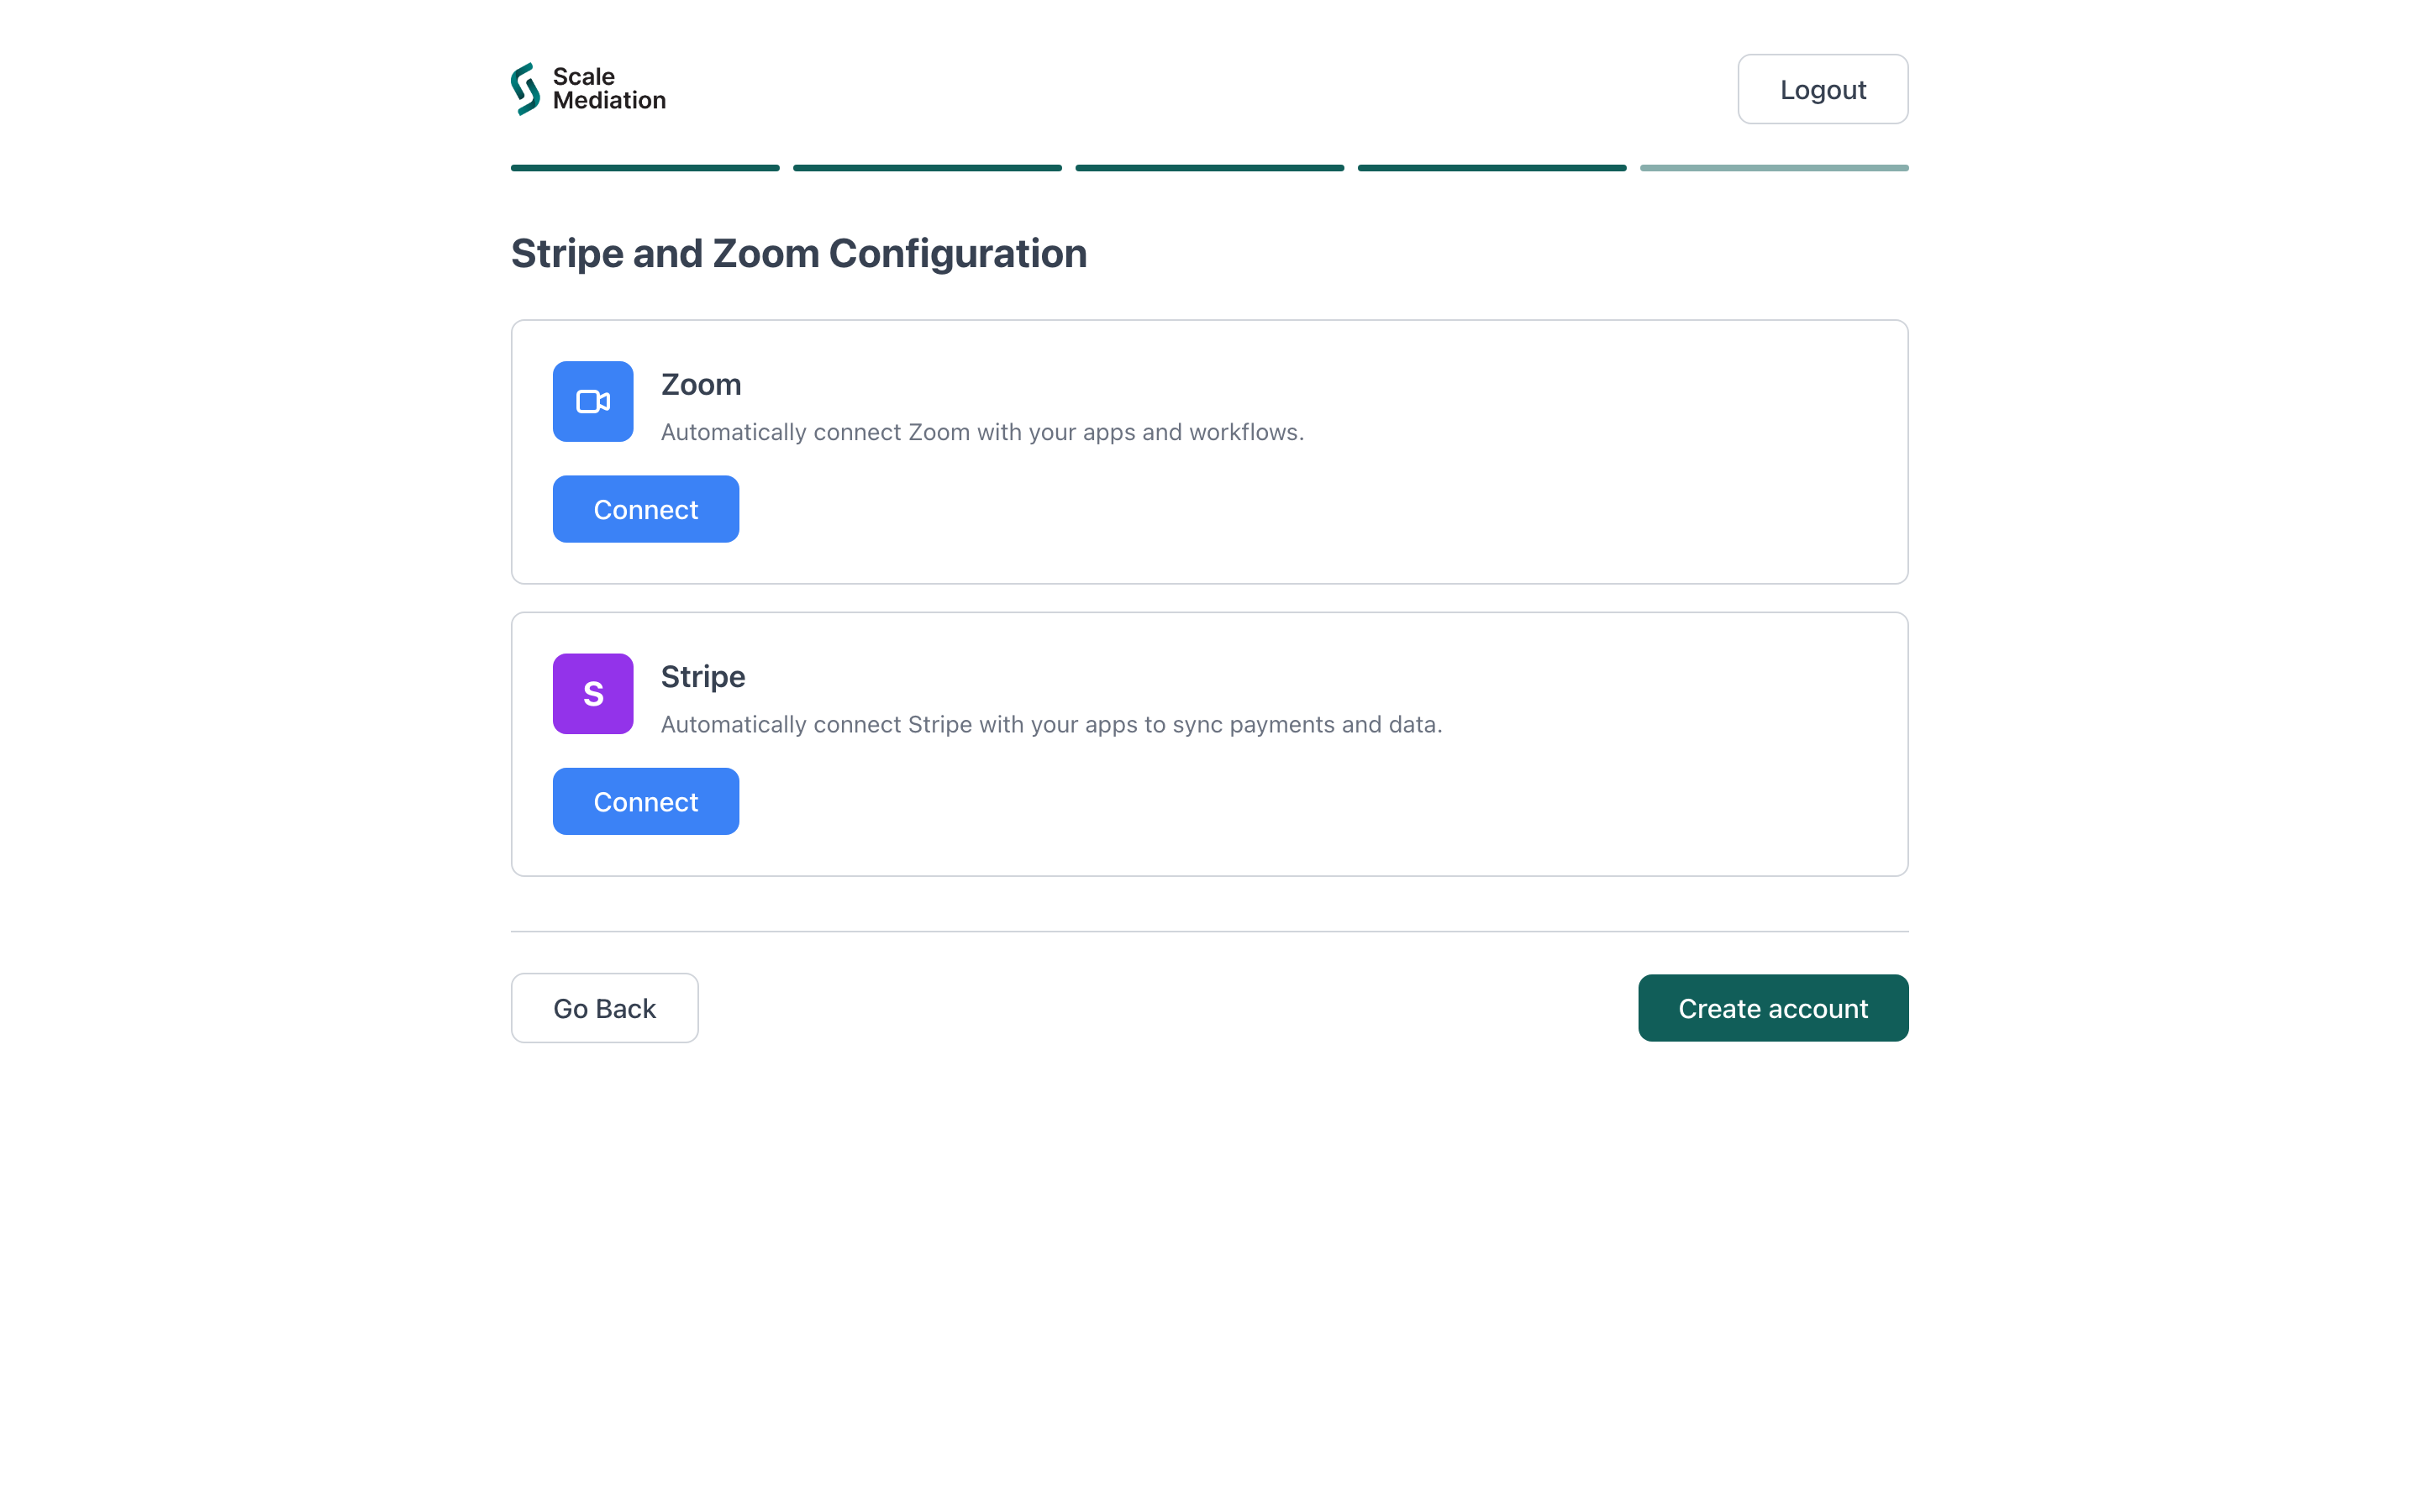
Step 5: Stripe and Zoom Configuration
Zoom → Connect
Lets Scale auto-create a Zoom link for every mediation. Without it, no video links are generated automatically.
Stripe → Connect
Sets up payouts so you can invoice parties and get paid. Without it, you cannot send invoices or receive payment.
Create account
Finalizes your profile. You then receive an admin confirmation email, and once approved your account goes live.